Installing OutCall: Difference between revisions
No edit summary |
No edit summary |
||
| (5 intermediate revisions by the same user not shown) | |||
| Line 1: | Line 1: | ||
The OutCALL application is designed for integration with MS Outlook, providing users with: Outlook contacts integration, incoming calls pop-up window notification, click to dial from email/contact. It has been developed by a competitor PBX provider, but it has been released with a BSD license, allowing free and unlimited usage. To be able to use OutCall, it is needed to run "multimanager.php" using /usr/local/bin/restartmultimanager.sh | The OutCALL application is designed for integration with MS Outlook, providing users with: Outlook contacts integration, incoming calls pop-up window notification, click to dial from email/contact. It has been developed by a competitor PBX provider, but it has been released with a BSD license, allowing free and unlimited usage. To be able to use OutCall, it is needed to run "multimanager.php" using | ||
<pre> | |||
/usr/local/bin/restartmultimanager.sh & | |||
</pre> | |||
This command can be added to /etc/rc.local for automatic start at boot time | |||
OutCall can be downloaded from GitHub | |||
https://github.com/bicomsystems/outcall2/releases | https://github.com/bicomsystems/outcall2/releases | ||
| Line 20: | Line 25: | ||
[[File:topsettingsmanagerusers.png|400px]] | [[File:topsettingsmanagerusers.png|400px]] | ||
Adding one or more users. One user is enough. | |||
[[File:managerusers.png|400px]] | |||
Now get back to OutCall and start configuring it accessing the Settings page. | |||
In the Dialing rules section, General subsection, set the Outgoing context to "authenticated" | |||
[[File:outcall6.png|400px]] | |||
In the Server section, fill the Server address, the username and secret created in the "Manager Users" and change the port to 5039. | |||
[[File:outcall7.png|400px]] | |||
In the Extensions section, enter your extension number | |||
[[File:outcall8.png|400px]] | |||
Now you can place a call from Windows and have your phone rings and be connected to the number dialed. | |||
When a call comes in, a popup will show you the callerID. | |||
Latest revision as of 22:03, 7 March 2018
The OutCALL application is designed for integration with MS Outlook, providing users with: Outlook contacts integration, incoming calls pop-up window notification, click to dial from email/contact. It has been developed by a competitor PBX provider, but it has been released with a BSD license, allowing free and unlimited usage. To be able to use OutCall, it is needed to run "multimanager.php" using
/usr/local/bin/restartmultimanager.sh &
This command can be added to /etc/rc.local for automatic start at boot time
OutCall can be downloaded from GitHub
https://github.com/bicomsystems/outcall2/releases
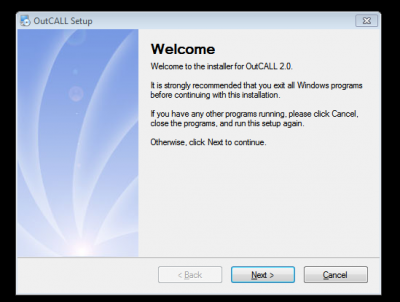
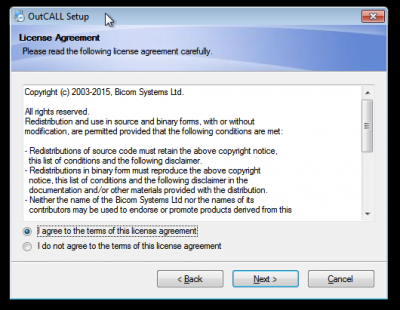
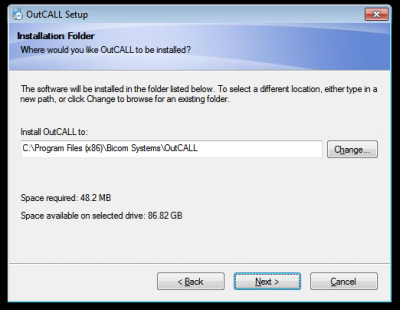
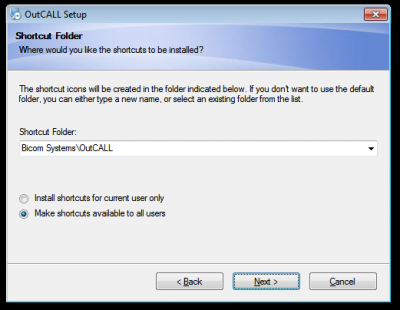
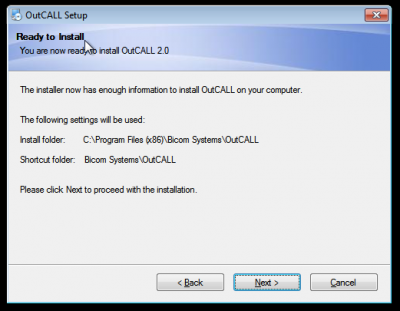
Please proceed pressing "[Next]" until Finish
After reboot you can find the OutCall software running on your system tray.
Let's move to the MiRTA PBX web interface to create an AMI user for allowing OutCall connection to the PBX.
In the Settings page locate the Manager Users button and proceed to the configuration page
Adding one or more users. One user is enough.
Now get back to OutCall and start configuring it accessing the Settings page.
In the Dialing rules section, General subsection, set the Outgoing context to "authenticated"
In the Server section, fill the Server address, the username and secret created in the "Manager Users" and change the port to 5039.
In the Extensions section, enter your extension number
Now you can place a call from Windows and have your phone rings and be connected to the number dialed.
When a call comes in, a popup will show you the callerID.
